How To Install In Ground Trampoline
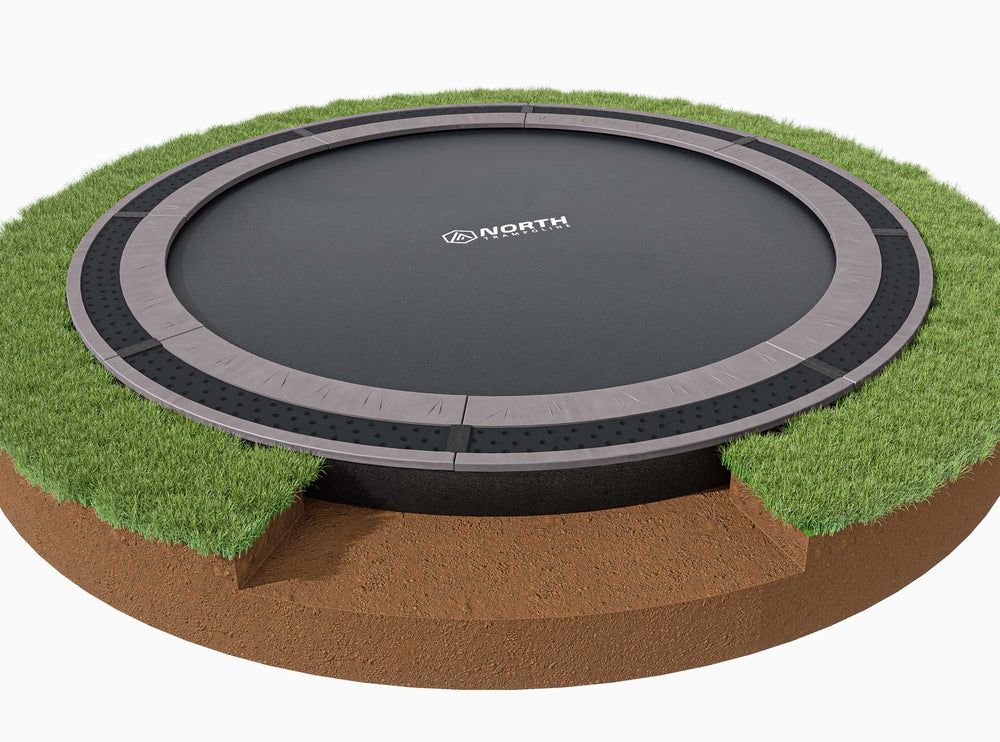
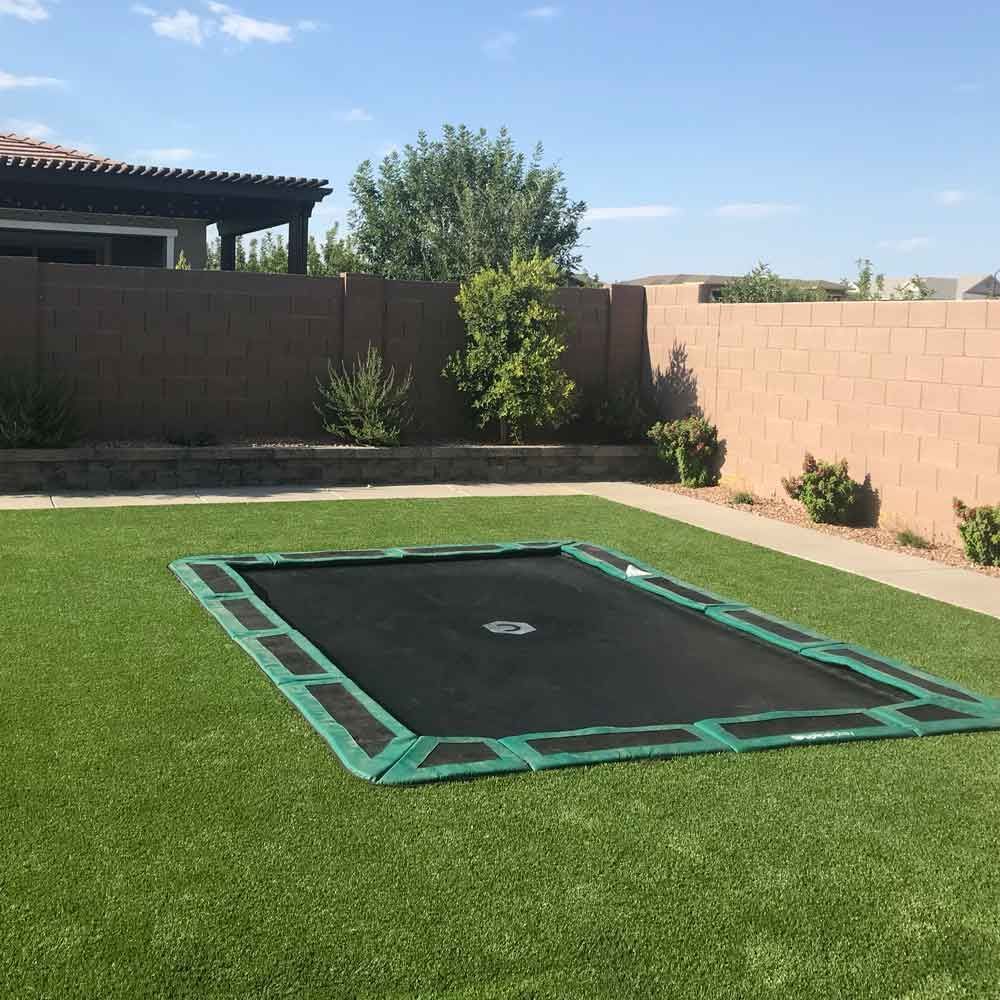
Trampolines have been a backyard favorite for decades, but traditional above-ground versions are sometimes bulky and can disrupt the look of a yard. An in ground trampoline offers a sleek, low-profile option that blends into the landscape while still delivering all the bouncing fun. If you’ve been wondering how to install an in ground trampoline, this guide covers everything you need to know. From site preparation and digging the pit to ensuring proper drainage and securing the frame, you’ll learn each step to create a safe and long-lasting play feature for your family.
Why Choose an In Ground Trampoline?
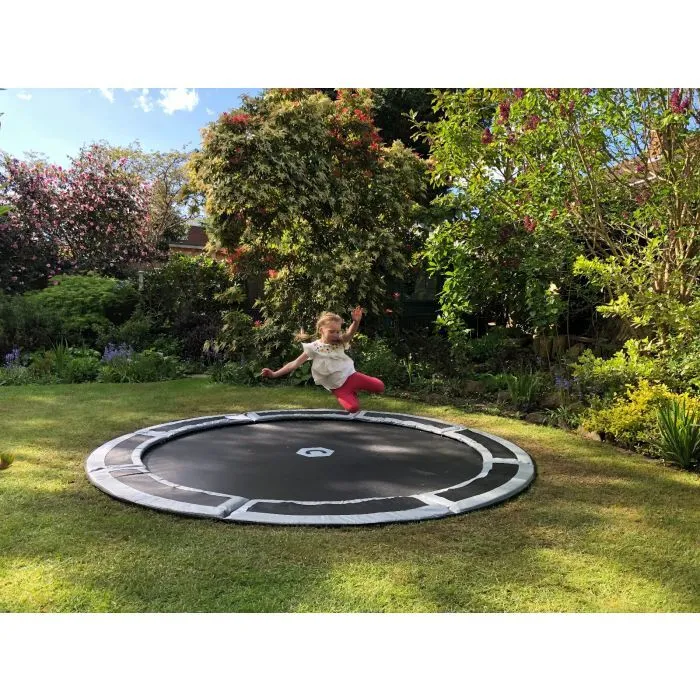
Families choose in ground trampolines for both safety and style. Because the trampoline sits level with the lawn, there’s no need for a ladder to climb on, and the fall distance is shorter compared to raised models. The design also makes backyards look cleaner, since the trampoline does not dominate the view. Parents often appreciate the added peace of mind that comes with reduced height. While safety nets are still recommended, the design itself adds an extra layer of protection. For more backyard ideas, you can explore Kids World Play Systems to see different options for outdoor play equipment.
Planning the Installation
Installing an in ground trampoline requires careful planning. Start by picking a location that is level, open, and free of obstacles. Avoid areas close to fences, trees, or patios. The ground beneath the trampoline will need to be excavated, so choose a spot where digging is manageable. Drainage is another important factor. Because the trampoline sits in a pit, rainwater can accumulate if it has no escape route. Some families install a gravel base, while others opt for a small sump pump or drainage pipe. Planning these details in advance saves time and prevents future problems. At this stage, it’s also smart to consider whether you will tackle the project yourself or hire professionals to handle the heavy work.
Excavating the Pit
The excavation process is one of the biggest parts of this project. The pit should match the trampoline’s size and shape, and the depth must allow the trampoline frame to sit flush with the ground. Most designs recommend a slightly deeper center so that air can circulate under the mat and keep it from bottoming out. The sides of the pit should slope inward, reducing the chance of collapse and adding stability. Depending on the type of soil in your yard, you may need to reinforce the pit walls with retaining blocks. In sandy or loose soil, reinforcement is especially important. While some families rent a small excavator for efficiency, others dig by hand with shovels for more control. Either way, double-check the measurements before moving on.
Drainage Solutions
Without proper drainage, an in ground trampoline can quickly develop issues. A simple solution is to place a thick layer of gravel at the bottom of the pit to allow water to filter through. In wetter climates, a perforated pipe system can be installed to redirect water away from the trampoline. For yards with poor natural drainage, some families install a sump pump to keep water levels under control. According to Family Handyman, proper drainage planning is one of the most overlooked steps in trampoline installation, but it makes the difference between a durable trampoline and one that wears out prematurely. Taking the time to set up drainage properly ensures your trampoline remains safe and stable in all weather conditions.
Installing the Frame
Once the pit and drainage are ready, the trampoline frame can be lowered into position. This step requires precision. The frame should sit evenly at ground level, and the supports around it must be firm enough to hold the weight. Many trampoline kits come with a retaining wall system that provides structure and prevents soil from pushing in. Make sure the frame is secure, since any shifting over time could make the trampoline unsafe. Once the frame is stable and level, you can move on to attaching the mat.
Attaching the Mat and Springs
Attaching the mat involves connecting springs around the frame. To avoid uneven tension, connect springs in a crisscross pattern, alternating sides as you go. This distributes the stretch evenly across the mat. After all the springs are in place, press down on the mat to test its bounce and tension. It should feel firm, even, and responsive. If the mat feels loose or pulls unevenly, double-check the spring connections before allowing anyone to use it.
Finishing the Installation
Once the trampoline is secure, the final step is backfilling soil around the edges of the frame. Pack the soil tightly so it does not settle or shift over time. You can finish the area with grass, stone edging, or landscaping to help the trampoline blend into the yard. Some families add safety nets at this stage. While an in ground trampoline reduces fall height, a net still adds an extra layer of protection. Kids tend to bounce higher than expected, and a net helps keep them safe.
Ongoing Safety Considerations
Trampolines are fun, but they require regular safety checks. Families should inspect trampolines frequently to catch issues early. Look for rust on springs, sagging mats, or loose bolts. Keep the area around the trampoline clear of obstacles like bikes or outdoor furniture. Children should be taught to bounce one at a time and avoid flips unless they are supervised and experienced. With consistent care and supervision, trampolines can be safe for everyday use.
Challenges and How to Overcome Them
Every installation comes with challenges. In loose soil, the pit walls may cave in, requiring reinforcement. In wet yards, water may collect despite initial drainage efforts, making a sump pump necessary. Some families notice the trampoline frame settling slightly over time, which usually means the soil was not compacted enough during installation. These challenges are normal, but with careful preparation and attention to detail, they can be managed. Being proactive during installation saves frustration and helps the trampoline last longer.
Maintaining an In Ground Trampoline
Once installed, your trampoline requires ongoing care. Clean the mat regularly to remove dirt and debris. Tighten hardware every few weeks to ensure nothing has loosened. If your area experiences harsh winters, consider covering the trampoline to protect it from snow and ice. Refresh the landscaping around the edges as needed to keep the trampoline area attractive. Maintenance is simple once it becomes part of your routine, and it ensures the trampoline remains safe and inviting for years.
When to Call a Professional
While many families enjoy taking on trampoline installation as a DIY project, others find it helpful to bring in professionals. This is especially true if the soil conditions are difficult or if drainage is a recurring problem in your yard. Professional installers have the equipment and experience to ensure everything is level, secure, and built to last. If you want peace of mind or a faster installation, calling in experts can be the best choice.
Conclusion
Learning how to install an in ground trampoline takes time, effort, and planning, but the results are worth it. You’ll create a safe, attractive play feature that blends into your yard while delivering endless hours of fun. By paying attention to details such as drainage, stability, and safety checks, you can enjoy the benefits of a trampoline that lasts for years. If you’re ready to explore your options or get help from experts, visit our contact page at Kids World Play Systems to connect with a team that specializes in play equipment and installation.
