How To Build A Backyard Swing
Few projects create as much joy in a backyard as a swing set. Children love the simple thrill of swinging, and parents enjoy seeing their kids outdoors, exercising, and having fun. If you’ve wondered how to build a backyard swing, the good news is that it doesn’t require advanced carpentry skills. With the right planning, tools, and safety steps, you can create a swing that becomes the centerpiece of your yard. This detailed guide will walk you through every stage, from planning and construction to safety checks and creative add-ons.
Why Build a Swing in Your Backyard?
Swings are timeless. They give children exercise, help them develop balance, and provide a sense of freedom. A backyard swing encourages kids to play outside instead of staying indoors with screens. It also brings families together, offering a fun way to bond. For parents, the process of building the swing can be just as satisfying as watching children enjoy it. You gain the pride of creating something lasting with your own hands. If you’re looking for more inspiration on outdoor play, check out Kids World Play Systems, where playtime ideas never run out.
Planning the Project
Before cutting wood or setting posts, think carefully about the design and placement of the swing. Smart planning makes construction easier and ensures a safer result. Here are the main factors to consider:
- Location: Choose an area that is level and clear of obstacles. Avoid spots near fences, trees, or hard surfaces like concrete patios. Leave a safety zone of at least six feet in front and behind the swing’s arc.
- Size: Decide how tall and wide you want the swing set to be. Standard backyard swings are about 7–9 feet tall. Make sure the proportions match the available space.
- Materials: Pressure-treated wood is strong and cost-effective. Cedar and redwood are naturally rot-resistant but may cost more. Metal frames are durable but require welding or specialty brackets.
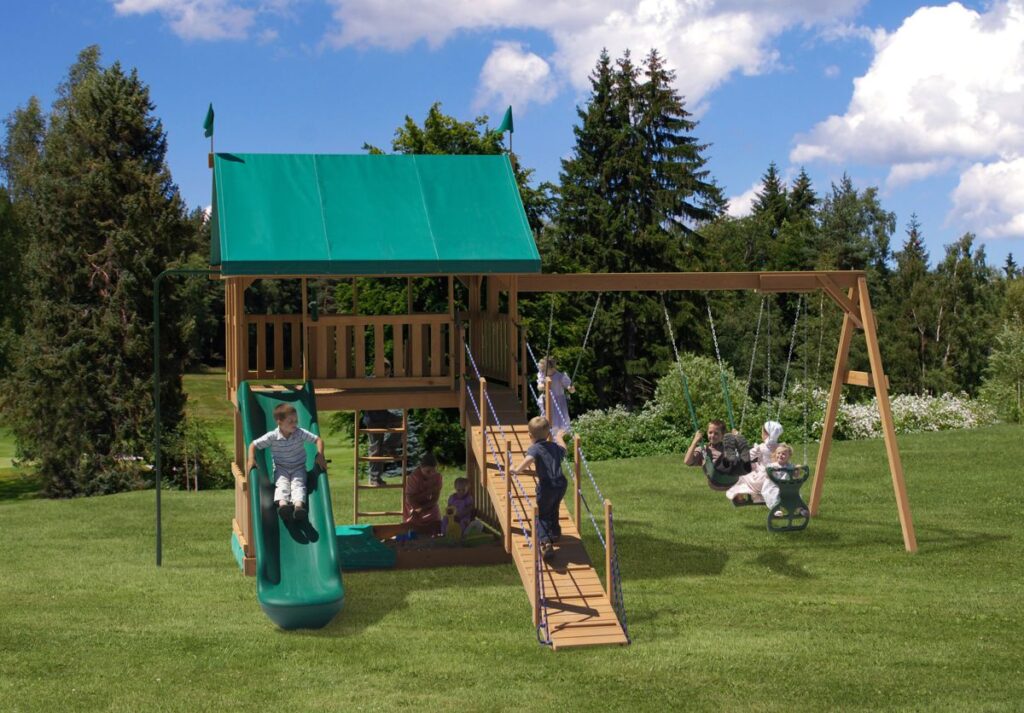
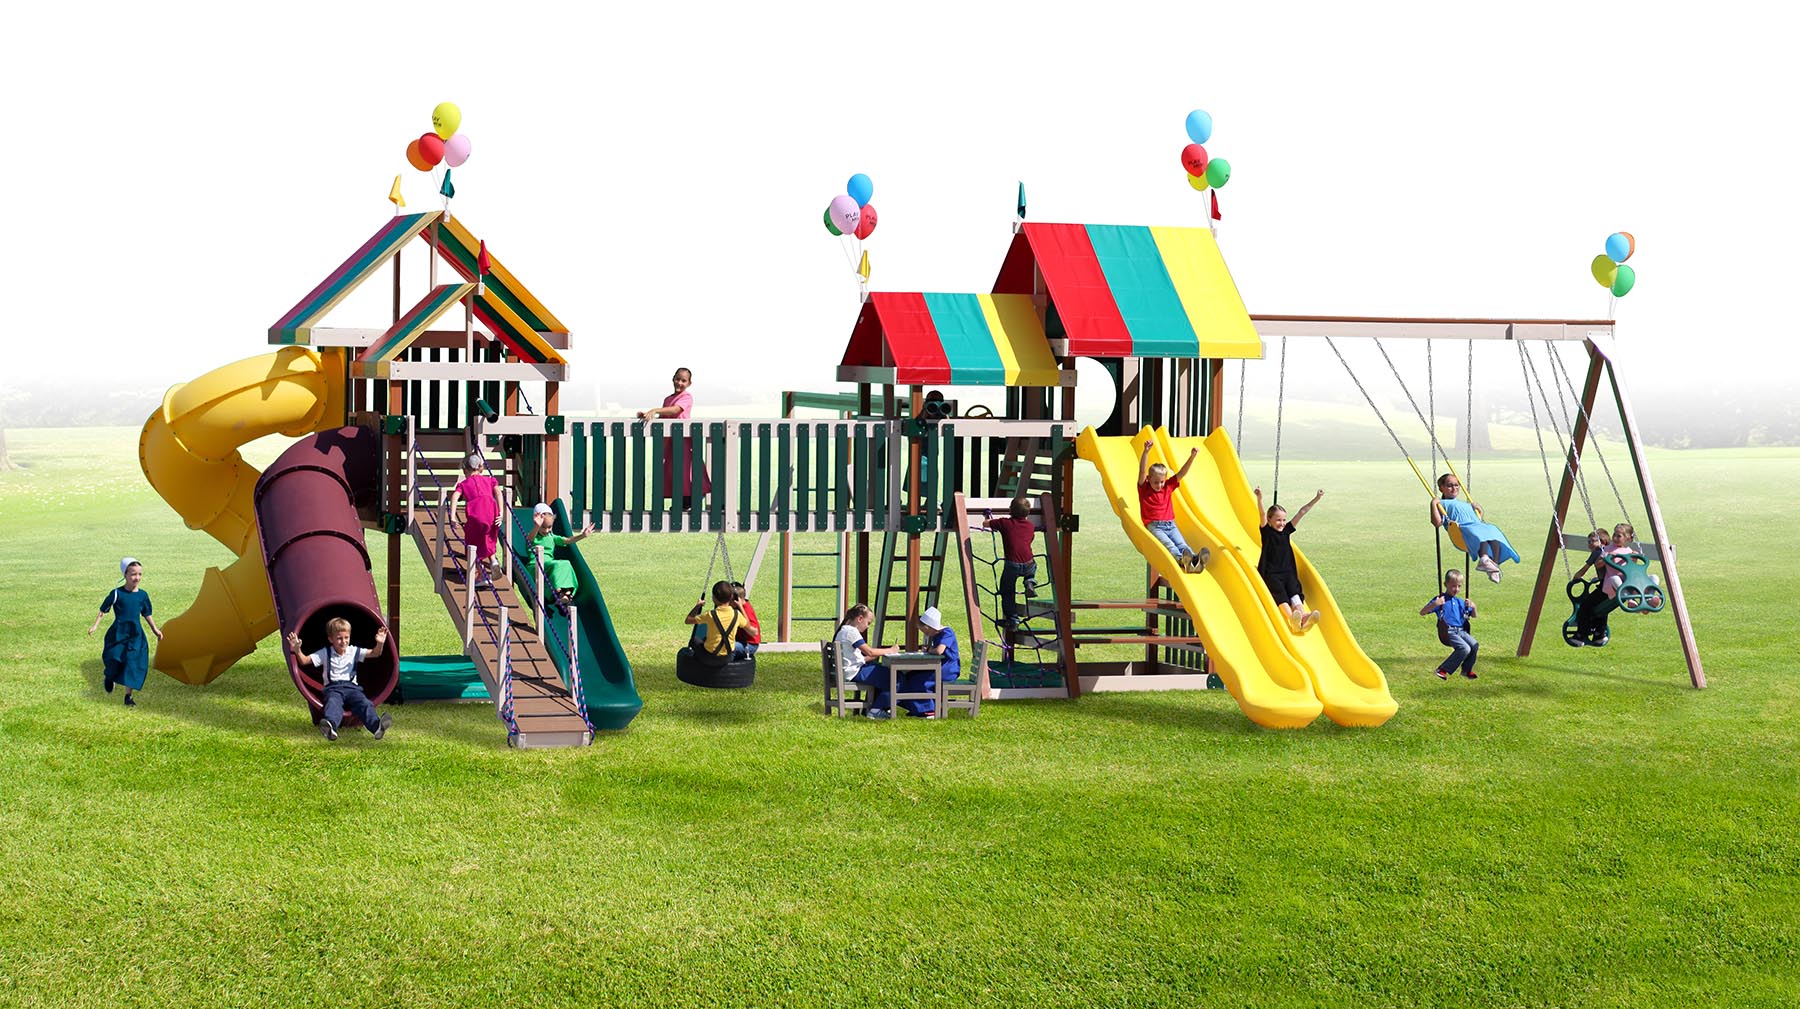
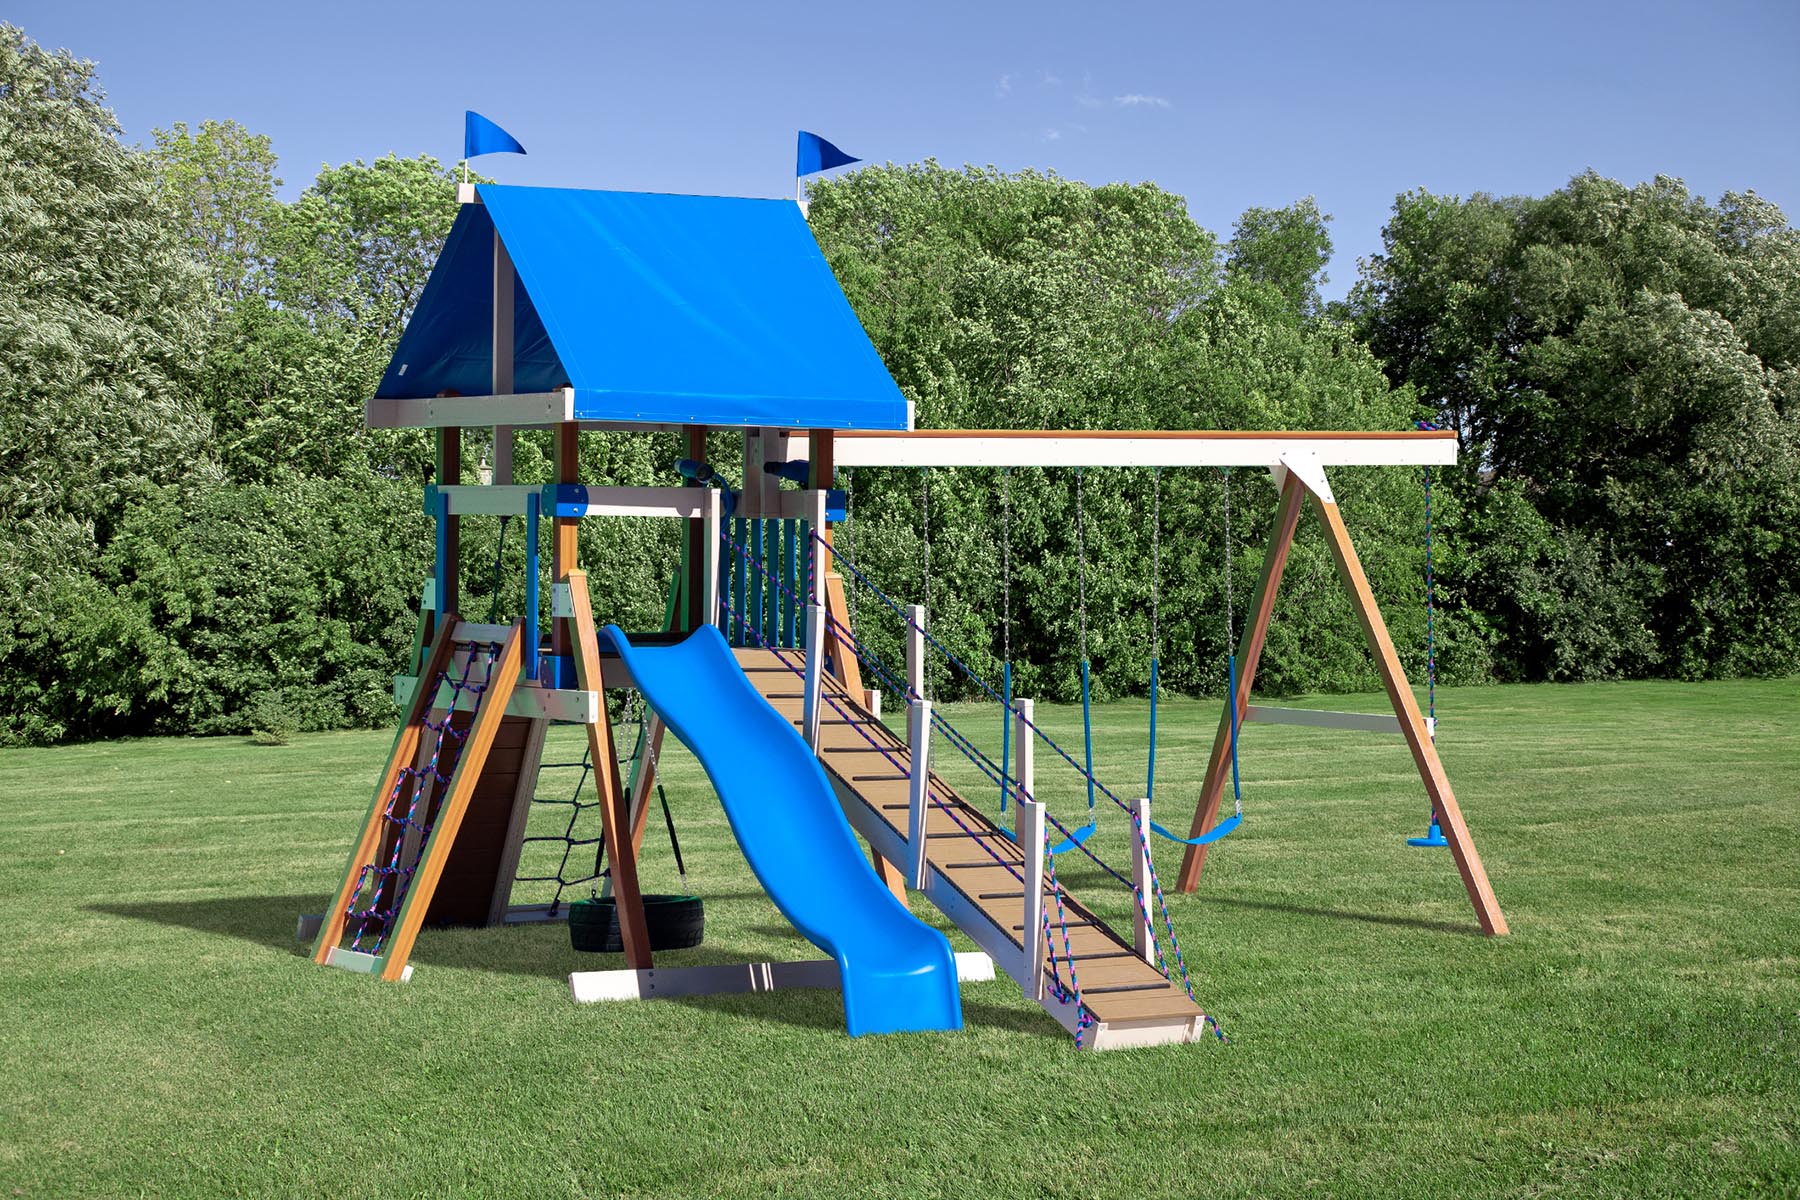
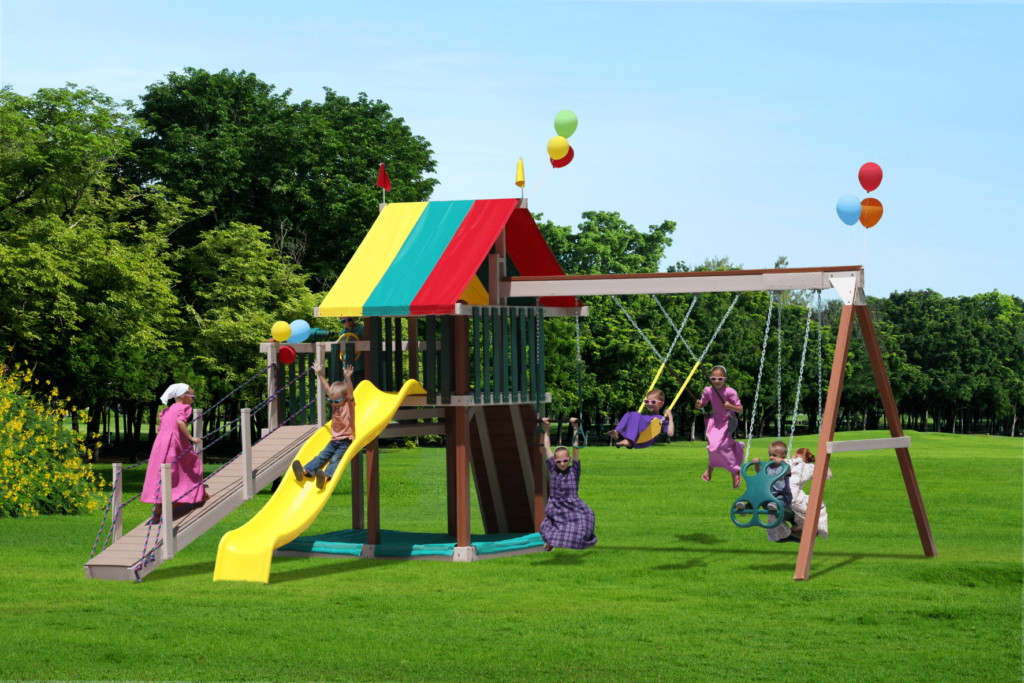
- Design: A simple single swing works well in small spaces. Larger yards can accommodate multiple seats, a glider swing, or even a swing attached to a larger playset.
- Users: Will adults use the swing too, or only kids? This determines how strong the frame and seat need to be.
What You’ll Need
Gathering tools and supplies before starting saves time. Here’s a checklist for a sturdy A-frame wooden swing:
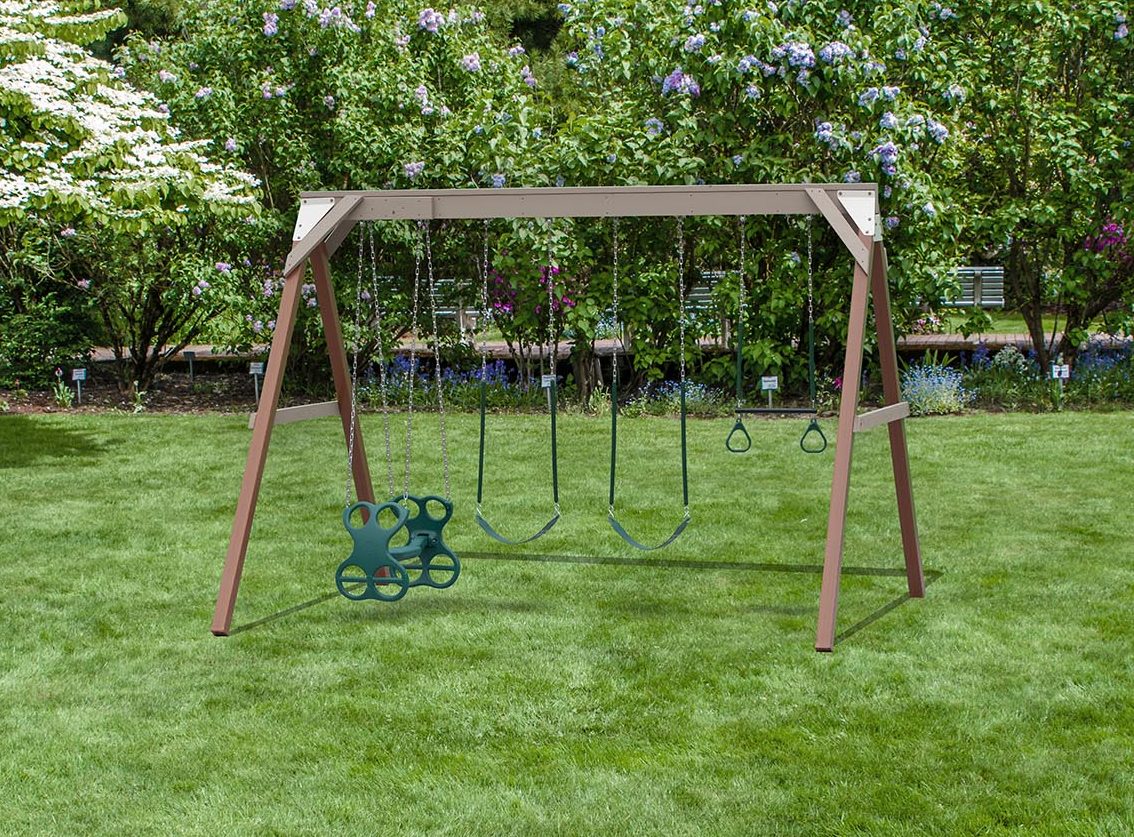
- Four 4×4 posts for legs (8–10 feet long)
- One 4×6 beam for the top support
- Two A-frame brackets or metal plates (optional but adds strength)
- Galvanized bolts, nuts, and washers
- Heavy-duty swing hangers with bearings
- Chain or rope rated for playground use
- Swing seat or wooden plank with rounded edges
- Shovel or post hole digger
- Quick-set concrete for anchoring posts
- Level, tape measure, and square
- Drill with bits for bolts
- Wrench set for tightening hardware
Step-by-Step Instructions
Step 1: Prepare the Site
Mark the swing’s location with stakes or chalk. Clear away rocks, roots, or debris. Install a soft surface such as mulch, pea gravel, or rubber mats beneath the swing area. A cushioned landing zone is important for safety.
Step 2: Build the A-Frames
Cut the 4×4 posts so that the legs are equal in length. Stand two posts together in an A-shape, crossing them at the top. Drill a hole through both posts about a foot from the top and bolt them together. Repeat with the other two posts to create a second A-frame. For extra strength, attach a cross brace between the legs of each A-frame.
Step 3: Attach the Top Beam
Lift the 4×6 beam onto the tops of the two A-frames. Align the beam so it sits securely. Drill through the posts and beam, then insert bolts with washers and nuts. Tighten everything firmly. Use a level to ensure the beam is straight, as a tilted swing can create unsafe stress on the structure.
Step 4: Anchor the Frame
Dig four holes, one for each leg, about 18–24 inches deep. Place the legs into the holes and pour quick-set concrete around them. Use a level to check that the frame stands evenly. Let the concrete cure for the recommended time on the bag, usually 24 hours, before continuing.
Step 5: Install the Swing Hangers
Mark two points on the beam about 20 inches apart for a single seat. Drill holes and screw in the swing hangers. For multiple swings, leave at least 24 inches of space between each set of hangers. Using heavy-duty hardware is essential to avoid wear and tear.
Step 6: Attach the Seat
Hook chains or ropes to the hangers using locking carabiners. Connect the other ends to the seat. Adjust the chain length so the seat rests 18–24 inches above the ground. For toddlers, keep it lower; for older children, slightly higher works well. Make sure the seat hangs level to prevent tipping.
Step 7: Test the Swing
Sit on the swing yourself and try it out. Check that the frame does not wobble, the hangers rotate smoothly, and the chains hold steady. If anything feels unstable, reinforce with additional bolts or braces. Testing before kids use the swing is an important safety step.
Safety Guidelines
Swings are fun, but safety should always come first. According to the American Academy of Pediatrics, regular inspection and supervision are key to preventing accidents. Here are a few must-follow rules:
- Check bolts and fasteners monthly to ensure nothing has loosened.
- Replace chains or ropes if they show rust, fraying, or wear.
- Never exceed the recommended weight limit of the swing.
- Encourage children to hold on with both hands and sit properly.
- Supervise toddlers and preschoolers whenever they use the swing.
Creative Design Ideas
Your swing doesn’t need to look plain. Here are a few creative touches that can make it more fun and attractive:
- Tire Swing: Replace a seat with a tire for a classic playground feel.
- Paint or Stain: Match the wood color to your deck or fence for a polished look.
- Canopy or Shade: Add a sunshade to protect kids from direct sunlight.
- Multi-Feature Playset: Attach monkey bars, slides, or climbing walls to create a mini adventure park.
The History of Swings
Swings have been enjoyed for centuries. Ancient Greek art shows children playing on simple rope swings, and versions of them appear in cultures worldwide. Their enduring popularity proves how timeless this activity is. To learn more about their fascinating origin, read when swings were invented, where you’ll discover how this playful pastime has stood the test of time.
Maintaining Your Swing
Once built, your swing requires regular care to remain safe and sturdy:
- Seal wood every couple of years to protect it from moisture.
- Inspect after heavy storms for shifting or leaning.
- Replace worn or rusted hardware promptly.
- Keep the ground cover refreshed so it remains soft for falls.
Should You Hire a Professional?
Not everyone feels comfortable with building projects. If you don’t own the right tools or prefer peace of mind, hiring a professional installer can be a smart option. They can ensure that the swing is built to meet all safety standards and can handle years of use without issue.
Conclusion
Learning how to build a backyard swing gives you the opportunity to create something fun, practical, and memorable for your family. With careful planning, durable materials, and attention to safety, you can build a swing that brings joy for years to come. Whether you keep it simple or expand it into a complete playset, the project will add value to your backyard and happiness to your home. If you’d like expert advice or professional installation, don’t hesitate to reach out through our contact page to connect with Kids World Play Systems.