How To Build A Swing Set
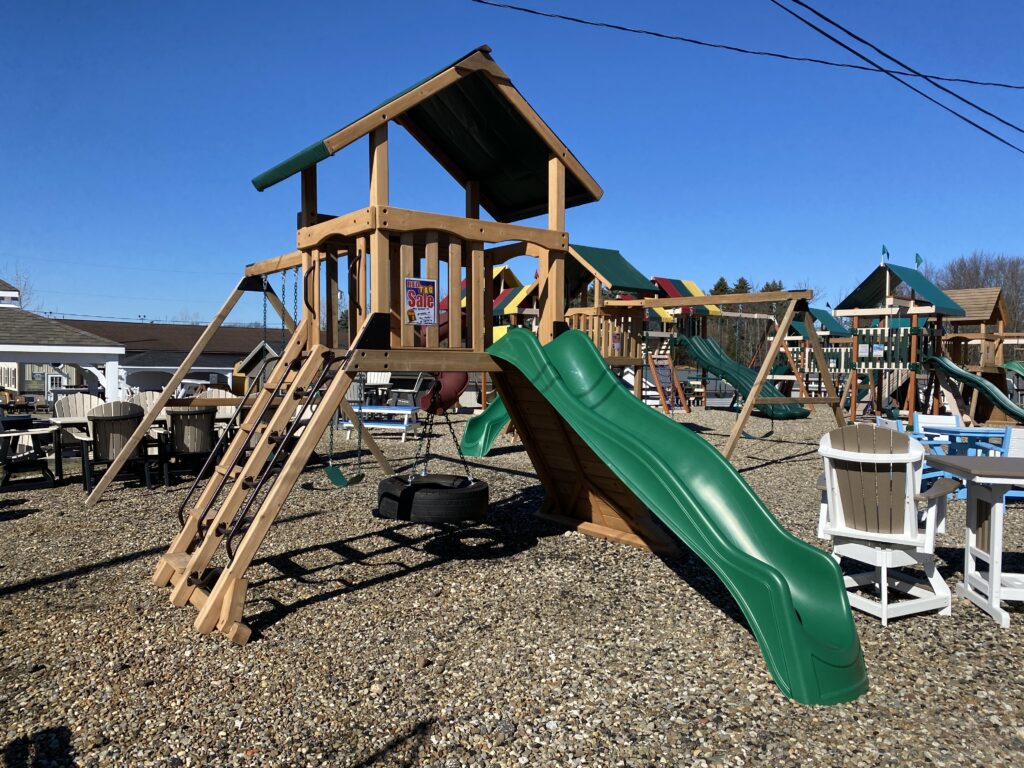
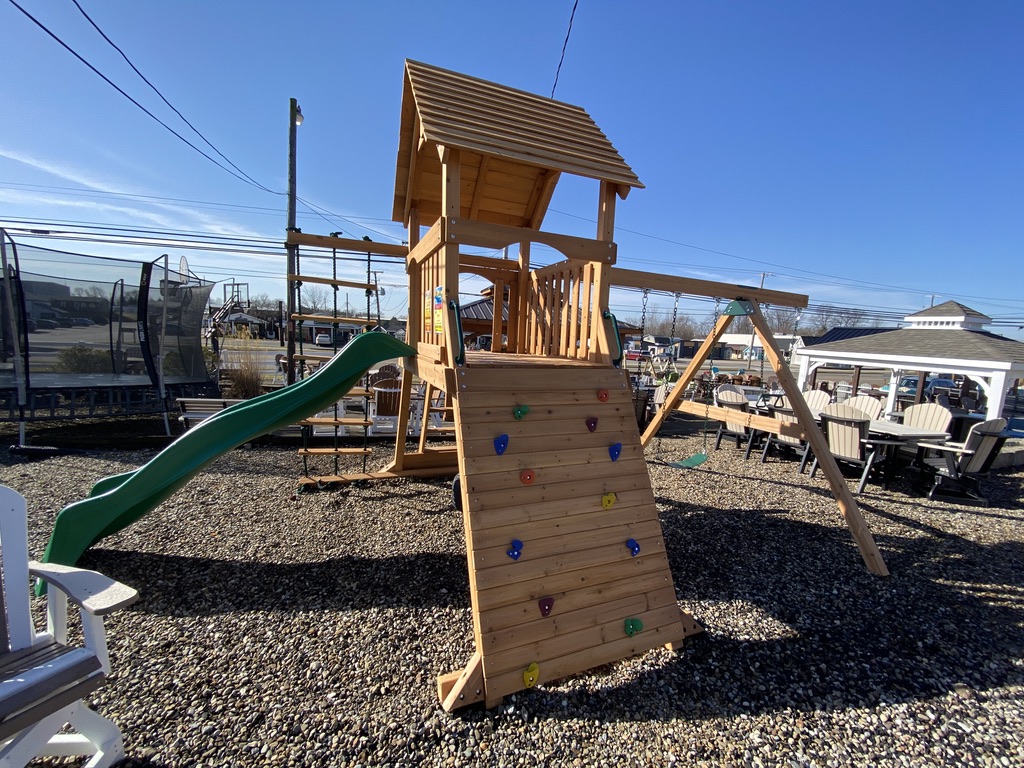
Are you looking for a fun project to do with the kids? Building your own swing set is an exciting and rewarding experience that can provide hours of entertainment for years to come. With just a few simple tools and materials, you can create your very own backyard playground! In this blog post, we’ll guide you through everything from selecting the perfect spot in your yard and designing a safe yet stimulating structure to assembling the components needed for success. So read on, arm yourself with some knowledge, and let’s get started building that swing set!

Gather the necessary tools and materials for the project – saw, drill, and lumber
The first step to completing any home improvement project is gathering the necessary tools and materials. You’ll want to ensure you have a sturdy saw, preferably a combination of both circular and jigsaw models. Additionally, having a reliable drill and several sizes of wood lumber will help make life easier throughout the duration of the project. Don’t forget to grab glue, nails, screws, and clamps as well. Put together your collection of essential supplies one item at a time and before you know it, you’ll be ready to tackle that project like a professional!
Measure out the dimensions of the swing set and mark off where each piece of wood will go
Measuring out the dimensions of a swing set is an important step in installation. Before any wood can be cut or assemblage begun, it is essential to know how wide and high each piece needs to be. Taking a measuring tape, begin by measuring the length and width that the swing set will span. Once the base measurements are taken, mark off where each piece of wood needs to go so that the right measurements for each part can be obtained. This helps to ensure that all pieces fit together nicely for final installation. It’s important to double check the measurements before cutting any wood; if the pieces are not measured precisely, then there could be problems when it comes time to assemble everything!

Cut and assemble the swing set based on your measurements
Installing a swing set is an exciting project that requires precise measurements and careful assembly. First, measure your yard and sketch out the design you would like for the swing set to make sure it fits into your space. Calculate how much hardware will be needed based on the dimensions you have taken, and then cut any wooden boards to size. Finally, begin assembling the elements of your swing set using the hardware pieces and the boards. Take care in ensuring each piece is properly screwed or nailed together, as this will ensure a sturdy structure that can safely hold riders. Enjoy watching your children’s faces light up as they use their beautiful new swing set!

Secure all pieces with screws or bolts for extra stability
Utilizing screws or bolts when putting together a piece of furniture, a patchwork quilt, or any creative endeavor is one sure-fire way to gain extra stability. This proves especially useful when you want your work to be strong and reliable for many years, rather than accidentally pulling apart with the slightest jolt. In this case, spending a few minutes adding some extra screws or bolts will pay dividends in the long run – creating a firmly constructed and longer lasting final piece.
Install any additional components such as seats or slide attachments
Installing additional components can be a great way to enhance the enjoyment of your trampoline. Seats and slides are typically easily attachable, allowing for an expansive playground for children in the safety of their own backyard. Installing these accessories is often very simple, with most attachments having conveniently designed pieces that come together to form either slide or seat components. Depending on the shape, size and design of your trampoline, some seats or slides may require additional purchases as they are specifically engineered to work best with certain brands or designs. Keeping this in mind when selecting accessories can make the installation process much simpler and ultimately result in a more enjoyable experience for all!

Add a protective treatment to prevent moisture damage and weathering
Protecting your home from the elements is incredibly important, especially during harsher seasons. Adding a protective treatment will help prevent moisture damage, weathering, and staining by sealing off the surface and creating an impenetrable layer of protection from the world outside. Not only does this safeguard your home, but it also can make it easier to clean and maintain in general. Whether you do it yourself using sealants and paints found at any home improvement store or hire a professional to apply more specialized coatings, having a protective treatment for your home is always recommended. Doing so can save you costly repairs down the line, as well as protect your property’s resale value.
Concluding – We Can Help Too
Throughout this blog, we discussed the steps involved in installing your swing set. We talked about gathering all the necessary tools and materials to get started, such as a saw and drill. We gave tips on how to measure out dimensions and mark off where each piece of wood will go before beginning to cut. When it’s time to assemble, remember to secure all pieces with screws or bolts for extra stability. If you need an additional slide attachment or seats, those can be added at any point during the construction process.
Finally, you should apply a protection treatment over top of your swing set so that Moisture Damage and weathering don’t affect its structure and longevity. With these tips in hand, it is time for you take hold of that hammer and begin constructing. You have nothing but success waiting on the other side! And if you ever find yourself needing help along the way, we are here for you! We hope this helped you on getting your swing set started. Good luck!
