How To Lay Down A Basketball Hoop
Estimated reading time: 5 minutes
As a parent, seeing your kids having fun outside is one of life’s greatest joys. But if you’ve ever looked at the backyard and seen basketball hoops next to it wishing to join in the family games with your children, you know that installing a basketball hoop can be quite daunting. With so many hoops and choices on the market, it can be hard to decide which one to pick for your backyard or driveway. But fear not! We have put together this guide just for parents – with easy and concise steps that will help you install a basketball hoop correctly – giving your family hours of outdoor entertainment. Read on to get all the information needed when selecting and setting up the right basketball court for you!
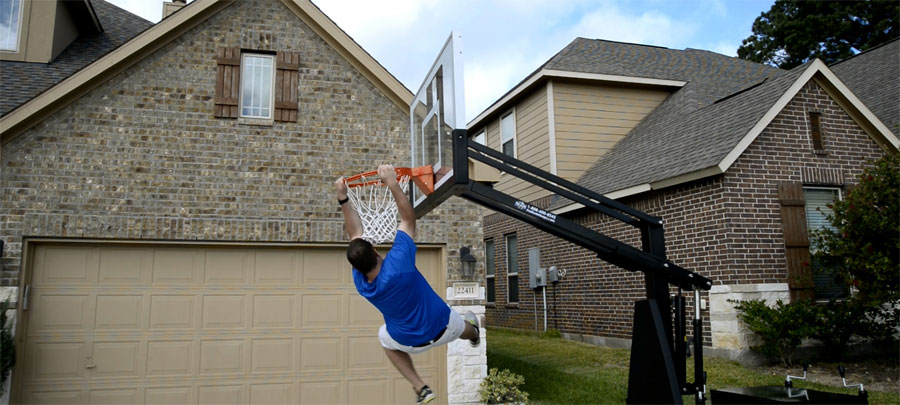
Gather the necessary supplies – basketball hoop, backboard, and rim
Playing basketball is a great way to stay active and have fun, but you can’t start without the proper equipment. Before hitting the courts, you’ll need to gather a few key supplies – a basketball hoop, backboard, and rim. These essential components work together to create the perfect environment for practicing your slam dunks, perfecting your layups, and testing your three-point shots. Whether you’re playing alone or shooting hoops with friends, having a solid set up is crucial for enjoying the game and improving your skills. So grab your gear and get ready to ball out on the court!
Choose the right spot in your yard to install the hoop – make sure it is level and not too close to any trees or other structures
When it comes to setting up a basketball hoop in your yard, choosing the right spot is key. You want to make sure that the area you select is level and free of any obstacles like trees or structures. This will not only help with gameplay, but also ensure that the hoop stays secure and firmly in place. Taking the time to properly measure and assess the area can save you a lot of frustration down the road and make for an enjoyable experience for everyone who gets to use it. So, grab a measuring tape and get to scouting out the perfect spot for your new basketball hoop!
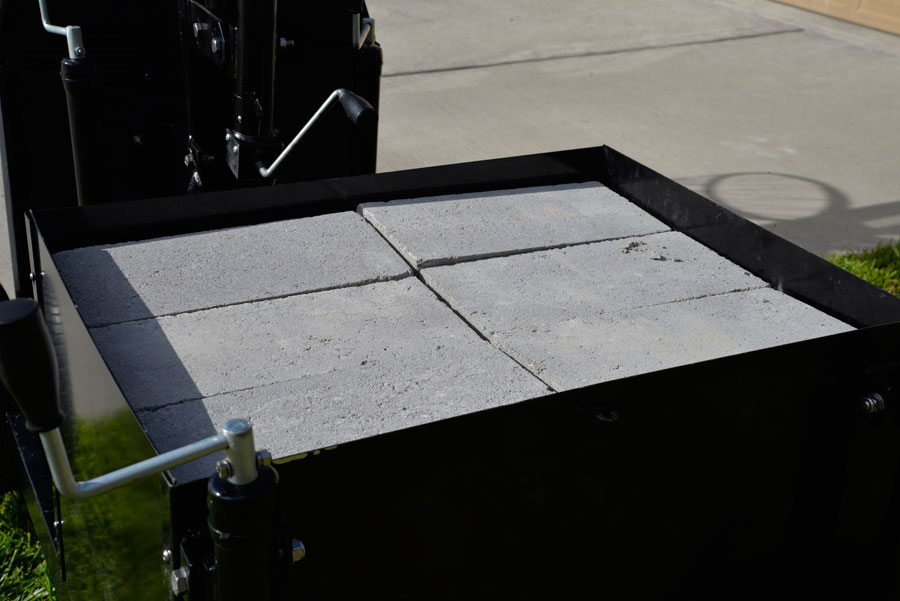
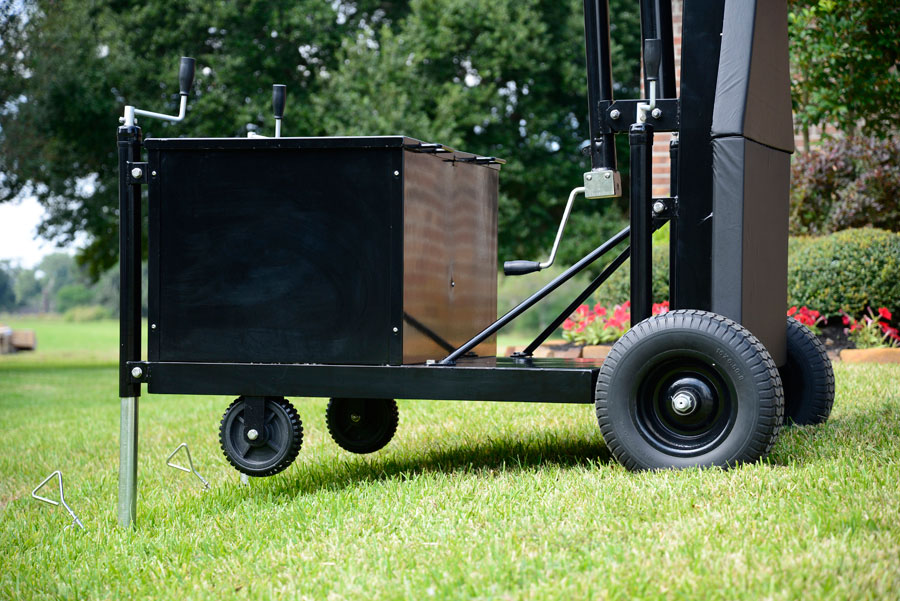
Securely attach the backboard to the pole and add sand or gravel for added stability
When it comes to setting up a basketball hoop at home, one of the most critical steps is securely attaching the backboard to the pole. This ensures that the hoop won’t topple over during a game or in rough weather conditions. However, simply attaching the backboard isn’t enough. It’s also important to add sand or gravel to the base of the pole for added stability. This will help keep the hoop in place, even during the most intense games. Whether you’re a seasoned basketball player or simply looking to add some fun to your backyard, taking the time to properly secure your hoop will ensure hours of hassle-free playtime.
Assemble the rim and netting onto the backboard
Assembling a basketball hoop can be a fun project for the whole family, but attaching the rim and netting to the backboard can be a bit tricky. However, with the right tools and a little bit of patience, you can get the job done in no time. Start by laying out all of your equipment and making sure you have everything you need. Then, carefully attach the rim to the backboard using the screws provided. Once that is secure, it’s time to add the netting. This step may require a second set of hands to hold the net in place while you tie it onto the rim. Before you know it, your basketball hoop will be ready for plenty of slam dunking and shooting practice.
Install a basketball court with lines painted on for added realism
Are you tired of playing basketball on a court that doesn’t have the same level of authenticity as the ones you see on television? Installing a basketball court with painted lines is the perfect solution to add realism to your game. The painted lines allow you to better visualize the boundaries of the court, which makes it easier to understand the rules and play accordingly. The crisp white lines also add a pleasing visual dynamic to the court that will make it stand out in your backyard. So, whether you’re playing with friends or practicing your free throws, a basketball court with painted lines is sure to elevate your game to the next level.
Fill in any gaps between the hoop and your driveway or sidewalk with cement
When it comes to maintaining a smooth and even driveway or sidewalk, ensuring that there are no gaps or spaces between the hoop and the surrounding concrete is crucial. Not only do these gaps look unsightly, but they can also pose a tripping hazard for pedestrians and cyclists. Fortunately, filling in these gaps is a relatively simple task that can be accomplished with cement. By taking the time to fill in any gaps in your driveway or sidewalk, you can enjoy a safer and more attractive outdoor space. Plus, you’ll have the added satisfaction of tackling a DIY project and improving your home’s curb appeal.