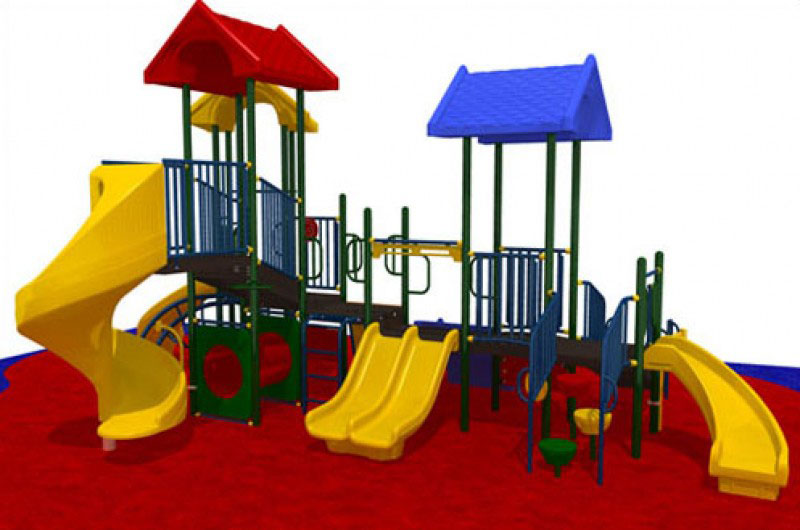
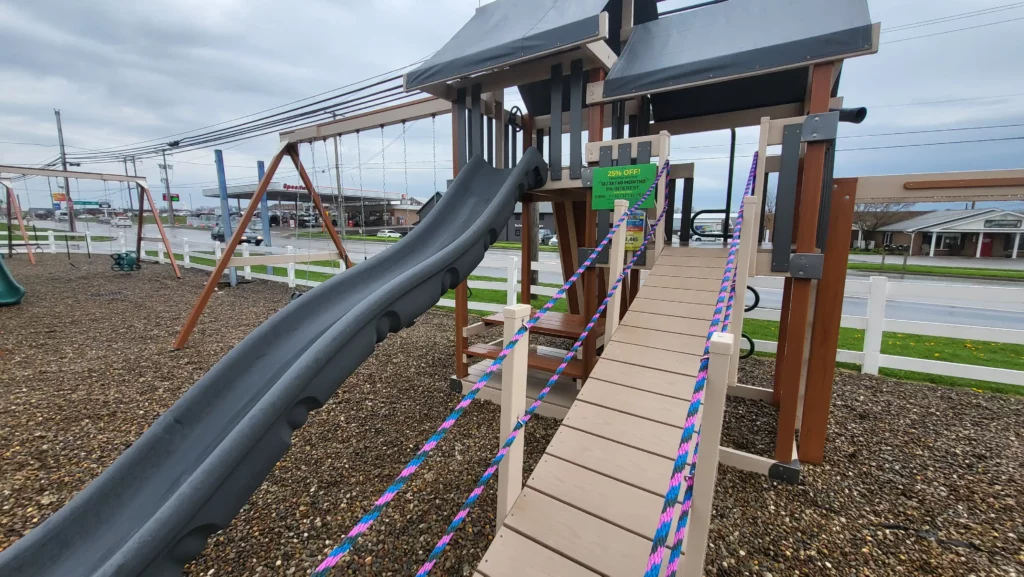
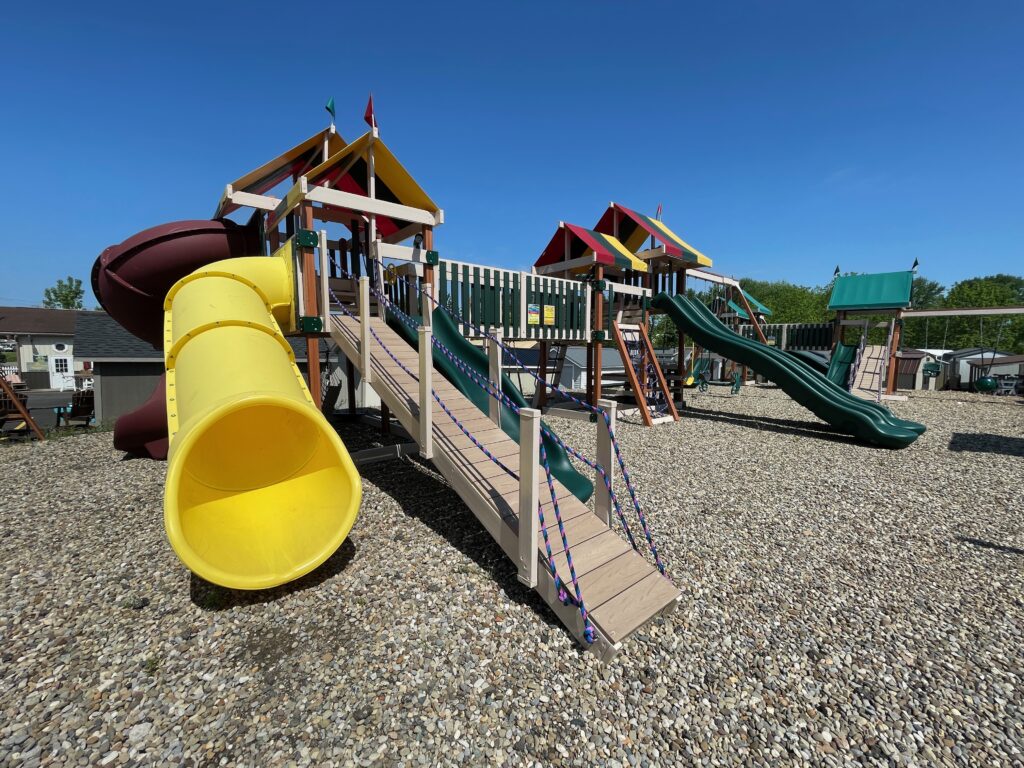
How To Paint Playground Equipment
Estimated reading time: 7 minutes
Painting playground equipment is essential not only for aesthetics, but it also adds extra protection to keep the students safe and prolong the lifespan of the play area. There are a few tips and tricks from prep work all the way to applying sealants afterward, ensuring your playground products look their best. In this article, we will provide step-by-step instructions on how to properly paint playground equipment, so you have the playground that stands out and that the kids have safe equipment to play on.
Gathering the Correct Materials
You take extraordinary pride in your playground investment. So do the kids. And applying a fresh round of paint on your playground equipment will enhance the playing experience. Gathering the correct materials can make or break a successful painting of your playground equipment. It is essential to have the correct tools for this project.
One of the most crucial aspects of any painting project is having the right paint, brushes, and drop cloths. Having the right paint can help you achieve the desired finish. Meanwhile, high quality brushes can help you apply it with precision. Trusty drop cloth can also help protect your playground equipment from any drips or splatters. It is prudent to follow this first step before diving into painting your playground equipment. Believe us, it is worth it!
Prepping the Surface
Before you break out the paintbrushes, it is important to prep the surface properly to ensure a smooth and long-lasting finish. First, clean the area to remove any dirt, grime, or grease. This can be done with a simple mixture of soap and water or a specialized cleaner. Next, remove any loose or peeling paint with a scraper or sandpaper. For particularly stubborn areas, a power sander can be used. Finally, make any necessary repairs, such as filling in cracks or holes, and allow the surface to completely dry before applying any paint. By taking the time to properly prep the surface of your playground equipment, you can ensure that your painting job will look magnificent for years to come.
Choosing the Right Type of Paint
Choosing the right type of paint can make all the difference in the world when it comes to the outcome of your playground equipment. Different surfaces require different types of paint, and using the wrong kind can lead to a less-than-perfect finish. For example, if you are painting a wooden surface, you will want to use an oil-based paint as it will penetrate the wood better and provide more protection. On the other hand, if you are painting a metal surface, you will want to use a rust-inhibiting paint to prevent corrosion. So, before you tackle down some painting on that playground equipment, make sure to do some research. When you have concluded your research by choosing the correct type of paint for the surface, you will be resting assured, witnessing the best results possible!
Applying Primer Coat Prior to Painting
Before jumping into painting that playground you have been dreaming about, there is one crucial step that cannot be ignored: applying a primer coat. While it may seem like an unnecessary extra step, using a primer before painting can save time and money overall. Primer helps the paint adhere better to the surface you are painting, leading to a smoother finish and more even color. It also
covers up any existing stains, marks, or colors that could otherwise bleed through the paint. So do not skip the primer process – take the time to apply it and create a flawless finish on your playground equipment.
Painting In Light Coats & Drying Between Layers
Painting playground equipment can be quite a soothing and satisfying activity, but achieving a smooth and flawless finish can be a little tricky. However, there is one fundamental rule to follow that will make your painting experience a whole lot easier. Painting in light coats and allowing it to dry between each layer. Applying paint too heavily can wreck the underlying coat and result in an uneven and tacky finish. By painting in light coats, each layer dries faster, leaving a smoother surface for the subsequent coat.
This rule is not just limited to beginners; professional painters religiously follow this too since it is the key to creating a perfect product. So, take your time and enjoy the painting process to that playground. And make sure to paint in light coats and let each layer dry- your patience will pay off in the long run!
Using Masking Tape for Brighter Colors
When it comes to adding bright colors to your playground equipment, it can be challenging to ensure that each shade stands out and does not blend. That is where masking tape comes in handy! By using masking tape to create sharp lines between different hues, you can ensure that each color remains distinct and vibrant. Not only does this technique create a clean and polished finish, but it also allows you to get creative with your color choices without worrying about them bleeding into each other. So, next time you want to experiment with bold and bright colors, be sure to grab some masking tape and create sharp lines to make that playground truly pop out!
Final Thoughts
Your playground equipment is the epitome of the ultimate fun-fulfilled experience for everyone. Rather it is placed in your backyard, or it is in use at local parks, schools and churches, a fresh set of paint on playground equipment will dramatically improve its image. And just by following those rudimentary instructions will allow yourself to splash that perfect image of playground equipment for your community.
From gathering the necessary supplies, prepping the surface, and properly applying a new coat of paint, it is limitless to the magnificence you can add to that playground equipment! Painting is a fantastic way to upgrade that playground overall image, and it does not take too much time, money, or effort. Whether you wish for bright pops of color or a soft and simple approach to your playground equipment, remember to paint one area at a time and layer in coats ensuring a perfect image playground. With a great amount of patience and practice, soon your playground will be transformed into a proud display for your community—all created by yourself!
At Kids World Play Systems, we are dedicated to assisting you in answering all your inquiries on that perfect backyard attraction. We are eager to hear from you about the success of that perfect playground paintjob after taking some time to read our article. Till we meet again!
Now that you have all the necessary supplies and know how to properly apply your new coat of paint, there’s no limit to the gorgeousness you can add to your living space! Painting is a great way to update any room – and it doesn’t take a ton of time, money or effort.