How To Put In An Inground Trampoline
Estimated reading time: 5 minutes
Getting the family together for a fun activity is one of the best parts of parenting, but sometimes finding something that everyone likes can be difficult. If you have been searching for an activity to keep your family entertained and engaged, then why not consider putting in an inground trampoline? Not only is this a fun way to get your children moving and having a good time, but it also adds value and entertainment to your backyard. Plus, if you’re feeling adventurous enough — installing the trampoline yourself isn’t so bad; it just requires some basic tools and supplies. In this blog post we will give you all the tips and tricks needed to successfully install an inground trampoline with confidence!
Choose a Location – make sure it is flat and away from any structures, trees, or fences
Finding the perfect location for any activity can be a daunting task, especially when it involves safety. When choosing a location, safety should always be a top priority. A flat surface is the perfect spot to begin, and it offers stability and balance. However, it’s important to ensure that the area is away from any structures, trees, or fences that could cause potential risks. By considering these factors, you are not only ensuring your safety but also those around you. So, take the time to find the ideal location, and remember that safety should always come first.
Prepare the Ground – mark out an area and dig a hole that is equal in size to the trampoline frame
Are your kids bouncing off the walls with excitement about getting a trampoline? Before you can set it up, you need to get the ground ready. To prepare the ground, you’ll need to mark out an area and dig a hole that’s the same size as the trampoline frame. This is important to ensure your trampoline is stable and safe for your kids to jump on. Don’t worry, it may sound like a lot of work but it’s actually a fun DIY project that can be done with the whole family. Get ready for some outdoor family fun!
Assemble the Frame – lay out all the pieces of the frame and attach them together as instructed in the manual
Assembling the frame might seem daunting at first, but with the detailed instructions laid out in the manual, it’s a breeze. Lay out all the pieces on a clean, flat surface and take a moment to inspect them to ensure you have everything needed. Take your time and follow each step carefully, and soon enough, you’ll have a sturdy and reliable frame that’s built to last. The end result will be worth the effort put into the process, and you’ll have a satisfying feeling of accomplishment once it’s completed. So put on some music, grab a cup of coffee, and dive into the gratifying process of assembling your frame.
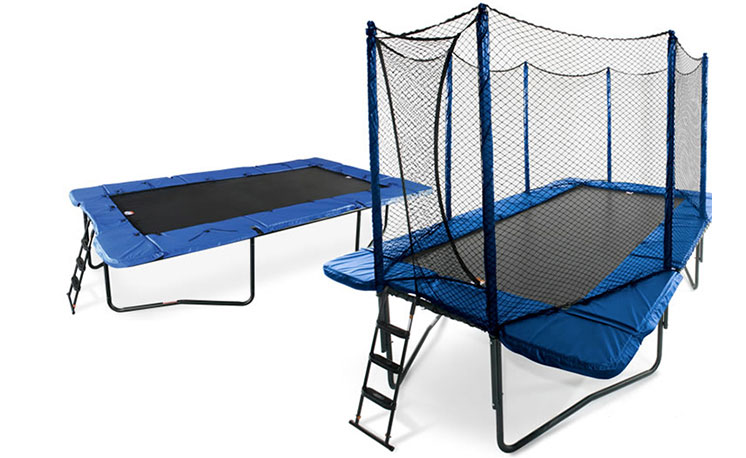
Lay Down The Trampoline Mat – place the mat over the assembled frame and secure it with mounting clips
Assembling a trampoline can be a fun activity for the whole family, but the most crucial part of the process is laying down the trampoline mat. This step requires focus and attention to detail to ensure the mat is secure and the trampoline is safe to use. The mat should be placed over the assembled frame with care, making sure it’s evenly spread. The next step is to secure it with mounting clips, ensuring the springs are tightly attached to prevent any accidents. Once you’ve finished this step, your trampoline is ready for endless hours of outdoor fun. So jump on in and have a blast!
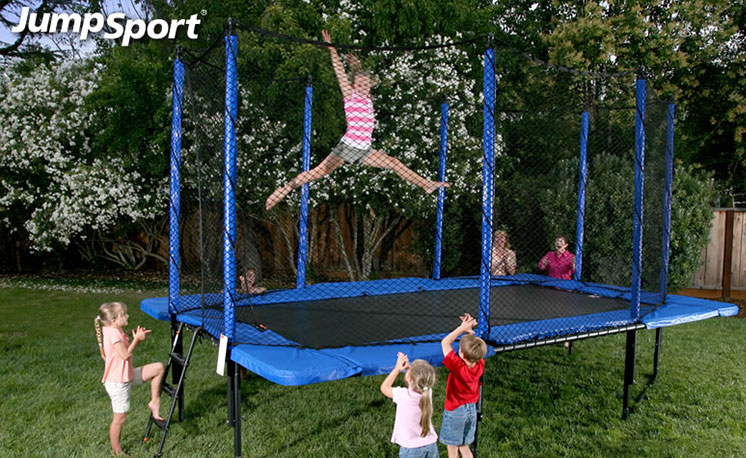
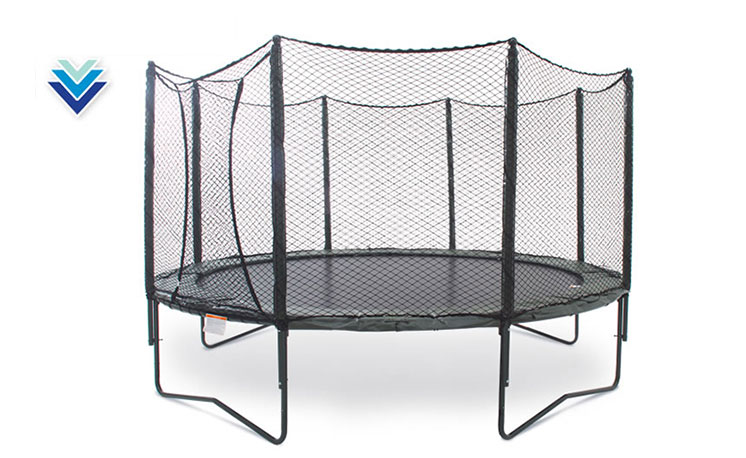
Install The Enclosure Netting – thread the net through all four poles and attach it securely to each corner
With summer just around the corner, it’s time to ensure that your family is safe while playing on the trampoline. One of the most important safety features of any trampoline is the enclosure netting. To install the netting properly, start by threading it carefully through all four poles, making sure to leave no gaps. Then, secure each corner tightly to ensure that the netting remains in place even during vigorous jumping sessions. With the netting installed correctly, parents can relax knowing that their children are protected against accidental falls while enjoying all the fun that comes with bouncing on a trampoline.
Secure The Anchoring System – use stakes or sand bags to keep your trampoline safe from strong winds and storms
When it comes to trampolines, safety should always be a top priority. Ensuring that your trampoline doesn’t go flying during a strong wind or storm is crucial to keeping everyone around it safe. That’s why it’s important to secure the anchoring system, whether it’s with stakes or sand bags. These methods serve as anchors to keep it in place during intense weather conditions. Whether you’re a seasoned trampoline owner or a newbie, taking the extra step to ensure your trampoline is secure can give you peace of mind while you’re enjoying the fun that comes with bouncing around.
Concluding
With these steps in mind, you now have the knowledge and ability to assemble your own trampoline from scratch. Take your time when assembling and make sure everything is done correctly! You’ll be able to enjoy hours of fun with your friends and family on your new trampoline. When setting it up, make sure you take safety precautions, such as stabilizing it properly, using an anchoring system, and making sure the mat is laid flat so there are no tripping hazards. Enjoy your safe, secure and bouncing trampoline! Although we do not sell inground trampolines, we hope this does help you understand how to put in an inground trampoline.