
Learning how to take a trampoline apart is simple when you follow the right order. Start by removing accessories and the safety enclosure. Next, take off the spring pad, release the springs evenly, remove the jumping mat, disconnect the legs, and separate the frame sections. Keep all bolts, clips, springs, and small hardware organized so reassembly is easier later.
Most backyard trampolines can be dismantled in about one to two hours. The exact time depends on the trampoline size, age, and condition. Rusted joints or stuck frame sections can slow the process. It also helps to have another adult nearby, especially when handling large frame pieces or parts under tension.
Gather The Right Tools First
Before you begin, collect the tools you may need. A trampoline spring puller is one of the most useful items because it helps remove springs safely. You may also need work gloves, pliers, a screwdriver, an adjustable wrench, sockets, and penetrating lubricant for rusted bolts or frame joints.
Take a few photos of the trampoline before you dismantle it. Focus on leg positions, enclosure connections, brackets, and hardware. These photos can save time when you put the trampoline back together. Keep resealable bags and a marker nearby for labeling bolts and clips. If you still have the manufacturer’s manual, use it as your main reference because some trampolines use different spring, rod, or frame systems.
Remove Accessories And Clear The Area
Start by removing anything attached to the trampoline that is not part of the main structure. This can include ladders, basketball hoops, covers, shoe bags, lights, sprinklers, or other accessories. Clearing these parts first gives you more space to work.
Make sure children and pets stay away while you work. Once disassembly starts, the trampoline is no longer safe for jumping. Choose a dry day if possible because wet metal and fabric can be slippery. It also helps to place a tarp nearby. You can use it to keep removed parts clean and stop small hardware from getting lost in grass or dirt.
Take Down The Safety Enclosure
The enclosure should usually come down before the jumping mat. Start by checking how the net attaches to the poles and frame. Some trampolines use straps, clips, sleeves, or loops. Remove each connection carefully instead of pulling on the net.
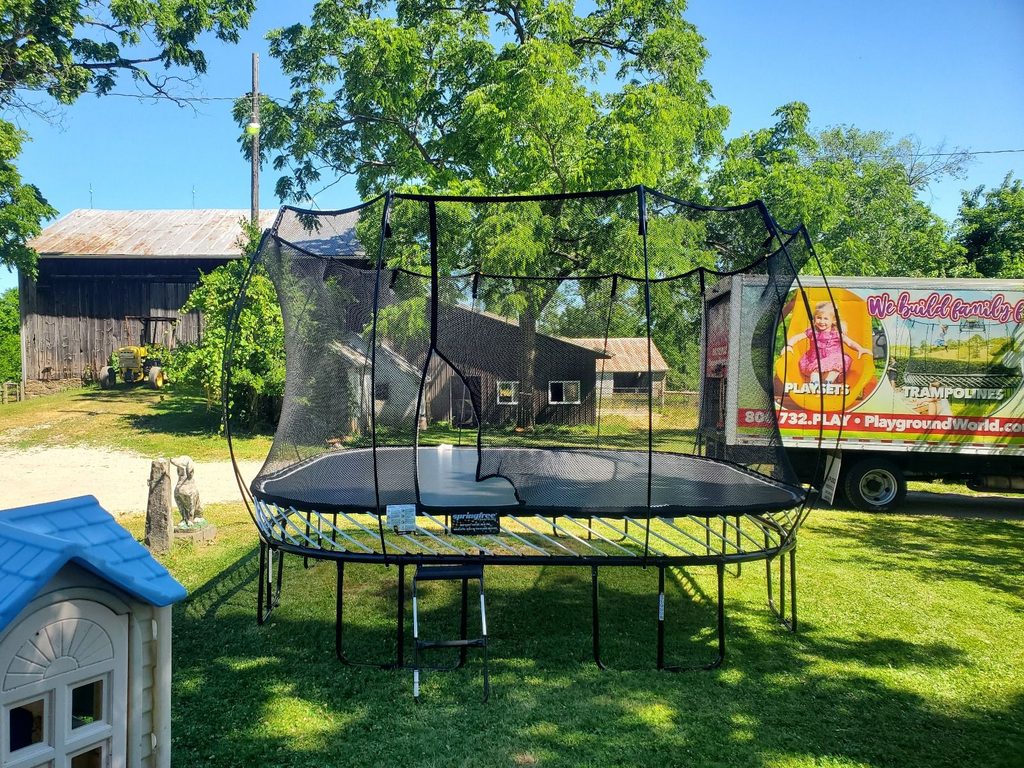
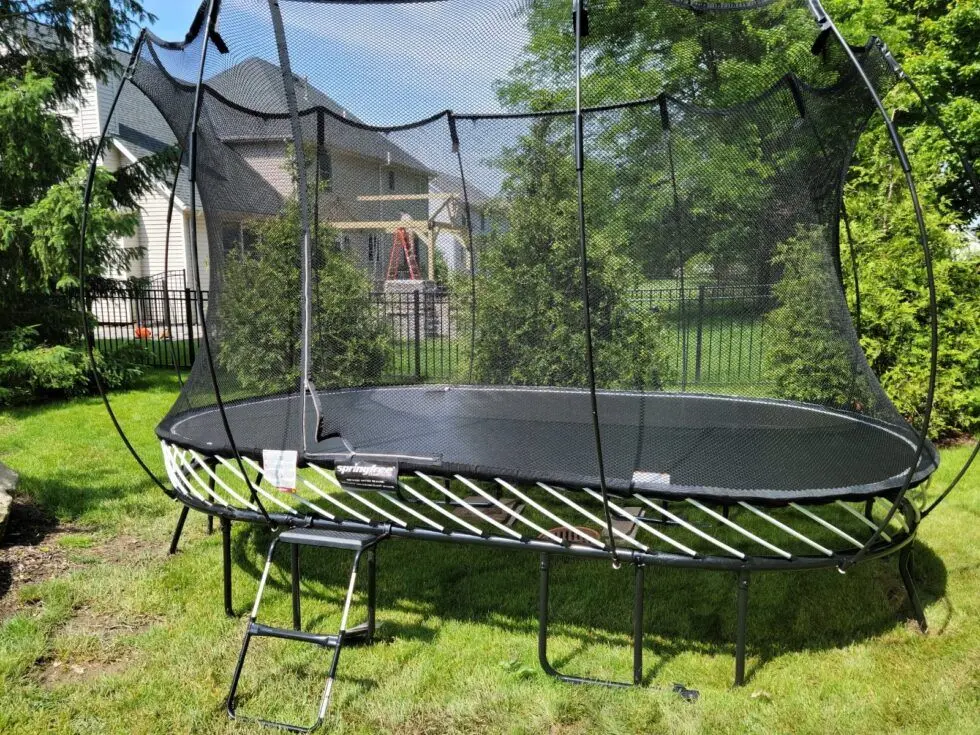
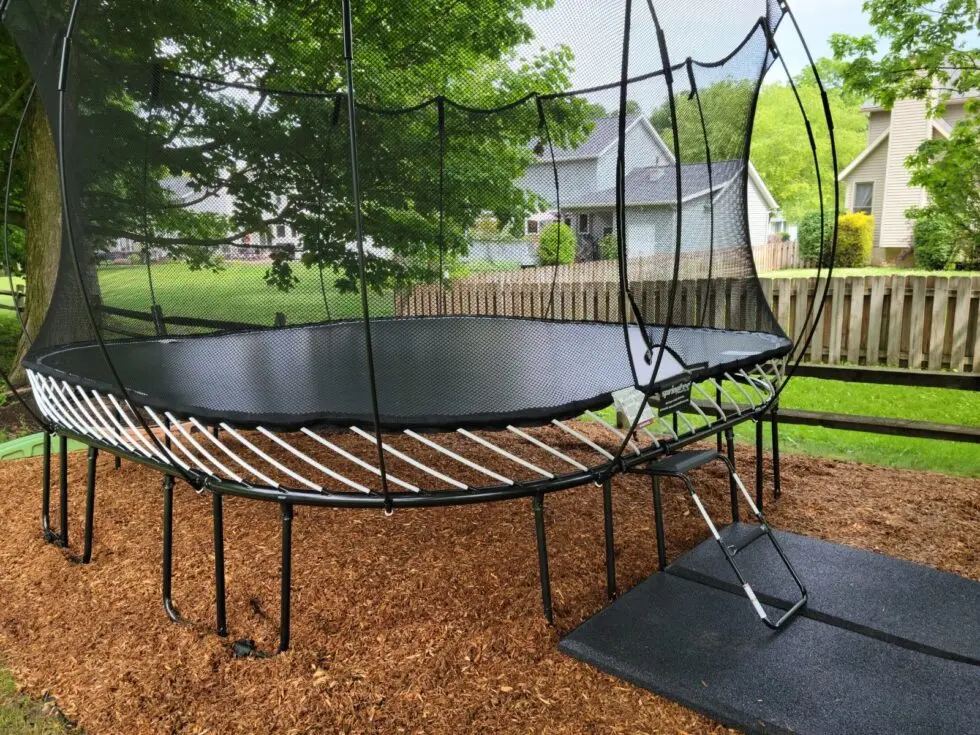
Once the net is loose, remove the enclosure poles according to the trampoline design. Some poles slide out easily, while others use brackets or bolts. If your trampoline uses flexible rods, follow the manufacturer’s instructions because these parts may remain under tension. The Springfree trampoline installation and disassembly guides provide useful examples of why model-specific instructions matter. Store the enclosure net away from sharp metal parts to prevent tears.
Remove The Safety Pad
After the enclosure is off, remove the safety pad that covers the springs and outer frame. Look underneath the pad for straps, hooks, elastic loops, or ties. Release each attachment one by one.
Avoid pulling the pad roughly because this can damage the stitching or foam. Once it is free, check for tears, cracks, or worn areas. If the pad is wet, let it dry before storage. Folding damp material can cause mildew. Store it separately from heavy frame pieces so it does not get crushed or punctured.
Remove The Trampoline Springs Safely
Spring removal is one of the most important steps when learning how to take a trampoline apart. The springs hold the mat under tension, so remove them carefully. Wear gloves and use a proper spring puller when possible. Do not remove all the springs from one side first. Instead, work around the frame and remove springs from opposite sides. For example, remove one spring, then move across the trampoline and remove another. Continue this pattern as the tension decreases. This keeps the mat more balanced and makes the remaining springs easier to remove.
Place all springs in a strong container. Separate any springs that are stretched, broken, or badly rusted so you do not accidentally reuse damaged parts later.
Remove The Jumping Mat
Once all springs are removed, lift the jumping mat away from the frame. Do not drag it across concrete, gravel, or sharp objects because the fabric can tear. Inspect the mat before storing it. Check the surface and all attachment points for worn stitching, damaged rings, or small tears. Clean off dirt and let the mat dry if it is damp. Fold it loosely instead of creating hard creases.
Keep the mat separate from springs and frame sections. Metal parts can damage the fabric if they press against it during storage or transportation. Families replacing an old trampoline can also explore the playground trampoline options available through Kids World Play Systems.
Disconnect The Trampoline Legs
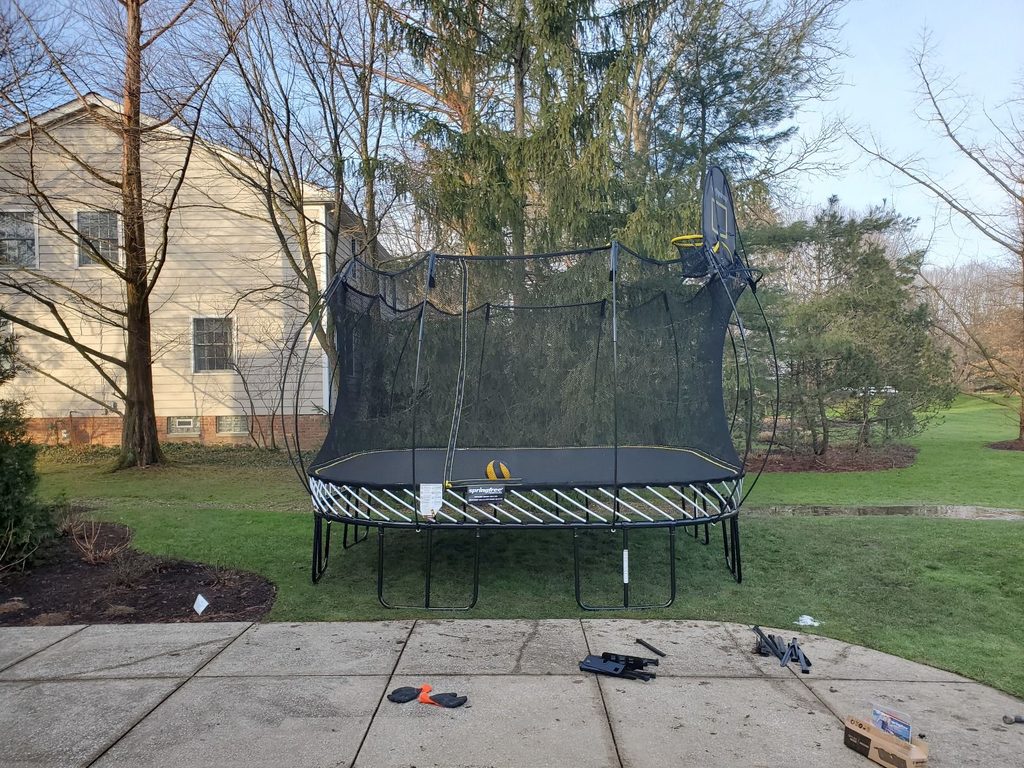
After the mat and springs are gone, move to the supporting legs. Check how the legs attach to the frame. Some trampolines use bolts, screws, locking pins, or pressure-fit connections. Remove all hardware and place it in labeled bags. If a leg feels stuck, do not force it immediately. Dirt and corrosion can make frame pieces difficult to separate. A small amount of penetrating lubricant may help loosen the joint.
Twist the leg gently while another adult holds the frame steady. Avoid hitting the tubing hard because dents can make reassembly difficult. Marking each leg position with removable tape can also make the rebuilding process faster.
Separate The Main Frame Sections
Once the legs are removed, the outer frame becomes much easier to manage. Check each connection for bolts, screws, locking buttons, or other fasteners. Remove these before trying to pull the frame apart. Work around the trampoline one section at a time. If a joint is tight, twist the tubes gently instead of bending them. Penetrating lubricant can help with rusty connections. A rubber mallet may also help in some cases, but use it carefully.
Label matching frame sections if they look similar. Numbers such as 1A and 1B can help you remember which pieces connect together. This is especially useful for larger trampolines with several nearly identical sections.
Organize Parts For Storage Or Moving
Good organization can save a lot of time later. Put bolts, screws, clips, washers, and small brackets into separate labeled bags. Keep enclosure hardware separate from frame and leg hardware. Store the springs in a strong container. Bundle long frame pieces and enclosure poles separately. Keep the mat, pad, and net away from sharp objects.
If you are moving the trampoline, measure the longest pieces before loading them into a vehicle. Make sure everything fits safely. Secure metal sections so they cannot slide around during transport. Keep the hardware container somewhere easy to find instead of burying it under other moving boxes.
What If The Frame Is Rusted Together?
Older trampolines can become difficult to dismantle because rain and humidity cause corrosion. If two frame sections are stuck, start by removing any bolts or pins. Brush away loose dirt and rust, then apply penetrating lubricant around the joint. Wait a short time before trying again. Twist the sections gently rather than pulling them with extreme force. If necessary, use a rubber mallet for controlled tapping. Avoid using enough force to bend or flatten the tubing.
Severe rust can weaken the frame. If you find deep corrosion, cracks, holes, or major deformation, the damaged part may need replacement before the trampoline is used again.
How Long Does It Take To Take A Trampoline Apart?
A standard backyard trampoline often takes around one to two hours to dismantle. Smaller models may take less time, while large trampolines with full enclosures can take longer. The biggest delays usually come from rusted bolts, tight joints, missing tools, or unfamiliar frame designs. Having another adult available can speed up the process and make handling safer.
Do not rush spring removal or flexible enclosure parts. Taking a little extra time is better than damaging the trampoline or getting injured. If you plan to rebuild the trampoline later, careful labeling and organized storage will save even more time.
Prepare For Easy Reassembly
Before storing everything, inspect each component. Check the springs, net, pad, mat, legs, poles, bolts, and frame pieces. Make a note of anything that needs replacement. Keep your disassembly photos and manufacturer instructions together. When rebuilding, follow the correct assembly order instead of relying only on memory. Some trampolines require a specific spring pattern or enclosure setup.
Choose a flat location before reassembly and make sure the surrounding area has enough clearance. If you prefer professional help, trampoline installation can make rebuilding easier and help ensure the structure is secure.
Conclusion
Knowing how to take a trampoline apart is mostly about following the correct order. Remove the accessories and enclosure first, then take off the pad, springs, and jumping mat. After that, disconnect the legs and separate the frame sections. Keep all small parts labeled, protect fabric components, and avoid rushing anything under tension. Taking photos during disassembly can also make rebuilding much easier.
If you are replacing an older trampoline or need help with installation, visit Kids World Play Systems to explore trampolines, installation services, and other backyard play equipment.