How To Stain A Playset
Estimated reading time: 7 minutes
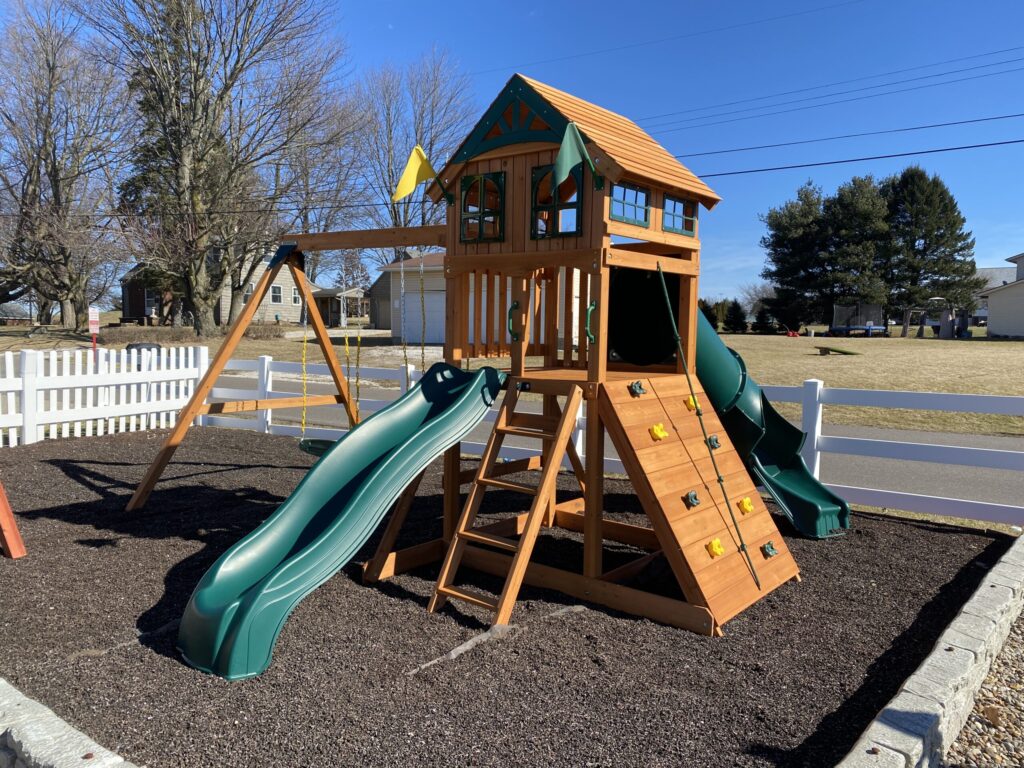
Protecting and enhancing your playset goes beyond aesthetics; it’s about creating a durable, safe environment for your little ones to enjoy. Staining your playset is essential to preserve the wood and extend its life, ensuring countless hours of safe fun. This guide provides a detailed walkthrough on how to stain a playset, making the process accessible and manageable for everyone.
A fresh stain job not only boosts the visual appeal of your playset but also acts as a shield against harsh elements. Staining a playset can prevent wood decay, UV damage, and moisture issues, keeping the playset in prime condition through the seasons. Let’s ensure your outdoor structure stands the test of time and weather.
Choosing the Right Stain: A Foundation Step
Selecting the right stain is the first critical step in this process. A high-quality, non-toxic outdoor wood stain ensures the safety of your little ones while offering robust protection against environmental elements. Opt for products that offer a strong defense against UV rays, moisture, and mildew to maintain the playset’s integrity over the years.
The playset stain you choose not only affects the playset’s durability but also its appearance. Look for water-based stains that are easier to apply and clean up, offering a wide range of colors to match your backyard aesthetic. Remember, the right stain can significantly affect the playset’s resistance to weather and wear.

Gathering Essential Materials
Before embarking on your staining project, gathering all necessary materials is crucial for a smooth process. You’ll need one gallon of stain, a small brush or paint sprayer for application, sandpaper for prepping the surface, and drop cloths to protect the ground. Don’t forget painter’s tape for safeguarding areas not meant to be stained and a quality wood cleaner for an optimal surface to stain.
Having the right tools at your disposal simplifies the staining process. A power wash can be handy for removing old paint and debris and preparing the wood for new stains. Ensure you have a variety of brushes or a sprayer that suits the size and complexity of your playset, allowing for an even and comprehensive application.
Preparing the Playset
The key to when trying to stain a playset is thorough preparation. Start by cleaning the wood surface with a dedicated cleaner or a mild soap and water solution. This step is vital for removing mold, mildew, and remnants of old stain, ensuring the new stain adheres well and penetrates the wood effectively.
After cleaning, sand down the wood to smooth out rough spots or imperfections. Sanding enhances the wood’s appearance and improves stain absorption, ensuring a smooth, even coat. Whether you’re dealing with a swing set or slides, preparing the surface correctly makes a notable difference in the outcome.
Shielding Surroundings
It’s essential to protect the area around your playset before starting the staining process. Lay down drop cloths or plastic sheets to catch any drips or spills, ensuring your grass and patio remain stain-free. Using painter’s tape, carefully protect any non-wood parts or sections of the playset you don’t want to be stained.
This step is not just about keeping your yard clean; it’s about ensuring a precise and professional-looking stain job. By safeguarding the surroundings, you can work more freely, focusing on achieving the best possible result without worrying about collateral damage.

Stain Application
Applying the stain is a critical phase where technique matters. Whether you use a brush for detailed work or a sprayer for efficiency, it’s important to apply the stain evenly, working with the wood’s grain. This method ensures full coverage and a uniform finish, highlighting the beauty of the wood while providing protection.
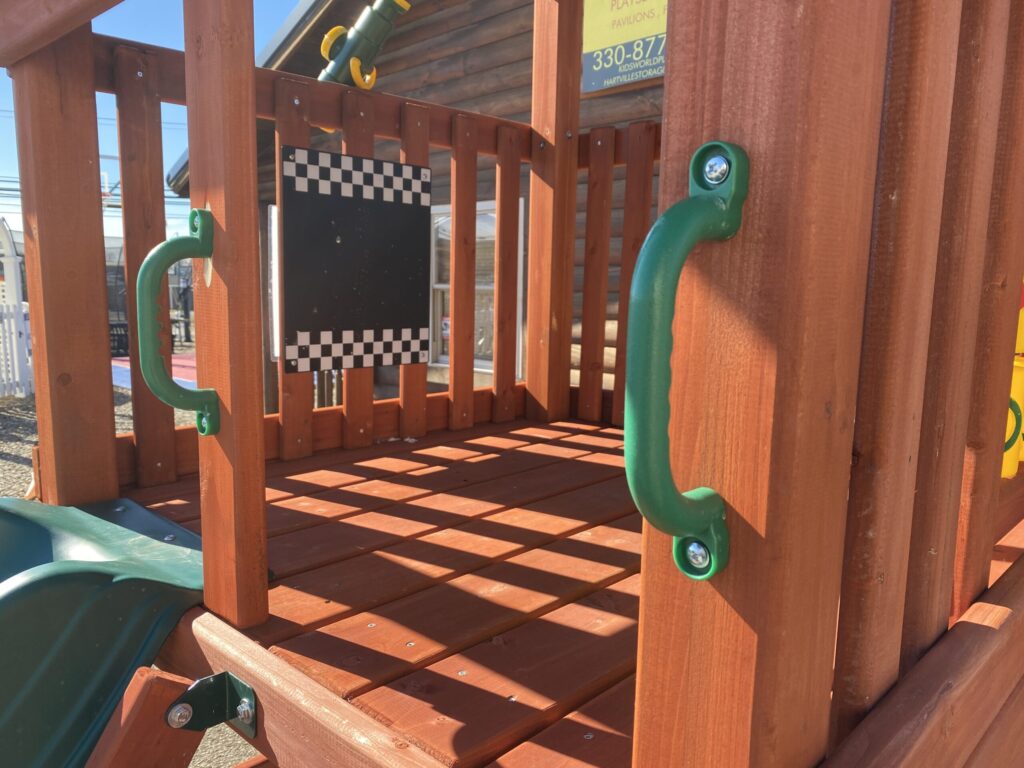
Remember to cover every nook and cranny in each stroke or spray, especially in intricate areas like swing chains or tent-top canopies. A comprehensive application enhances the playset’s appearance and seals it against weather and wear, ensuring lasting protection and enjoyment.
Drying Time: Patience Pays Off
After applying the stain, the drying time is crucial. Depending on the playground stain type and weather conditions, allow the playset to dry completely before use. This patience is key, as a fully dried stain provides a durable, protective layer, safeguarding the playset against rain, sun, and mildew.
The wait might seem long, especially when eager kids are waiting to play, but ensuring the stain has properly set is vital for its effectiveness and longevity. Check the manufacturer’s recommendations for drying times and consider factors like humidity and temperature, which can affect the process. A well-dried stain looks better and offers stronger protection for the wood beneath.
Inspect and Perfect
Once the stain is dry, take the time to inspect your work carefully. Look for any missed spots or areas where the stain may be too light or uneven. Applying additional coats as needed can help achieve a consistent finish, ensuring every part of the playset is equally protected and aesthetically pleasing.
This final step of inspection and touch-up is crucial for the overall success of your staining project. The attention to detail will make your playset stand out and remain a durable, safe place for your kids to play. By perfecting your work, you ensure the playset not only looks great but will withstand the test of time and outdoor elements.
Sealing the Deal
Consider applying a sealant after the stain has fully dried for an extra layer of durability and protection. A water-based sealant can provide an additional barrier against wet conditions, UV rays, and wear, further extending the life of your playset. This step is especially recommended in harsh weather climates or if your playset sits in direct sunlight.
Sealing your playset after staining not only enhances its resistance to the elements but also maintains the vibrant look of the stain over time. It’s a worthwhile investment into the longevity and safety of the outdoor structure that hosts so much joy and laughter for your little ones.
Conclusion
Staining your playset is a gratifying process that goes beyond cosmetic improvements. It’s a protective measure that enhances the longevity of the wood and safeguards it against the elements. By navigating through these aspects without a strict step-wise approach, you can master the art of staining and contribute to the extended resilience of your playset.
Remember, your effort to maintain your playset reflects your care for your children’s outdoor experiences. With each brush stroke, you’re not just applying stain; you’re ensuring that every swing, slide, and climb is on a safe, durable, and beautiful structure. Embrace this process as a labor of love, and enjoy the vibrant, protected playset that emerges, ready for seasons of adventure and play. Ready to bring your playset to the next level? Visit Kids World Play Systems for a wide range of accessories, swings, and slides to inspire endless outdoor fun. Dive into our collection and find the perfect additions to enhance your playset today.